Although no one knows exactly who dyed the very first Easter egg, it is certain that the use of eggs in celebrations dates back to the earliest of times and was a popular symbol of Spring or rebirth in countless religions around the world.
Nowadays, at Easter one sees eggs in a variety of incarnations: as chocolate or marshmallow confections, hard boiled, dyed and decorated or of course the common but colorful "snap apart" plastic versions, ready to be filled with candies and tiny surprises and artfully hidden away.
Seems "refilling" real eggs is nothing new. An online search led me to carcasons or cascarones: The confetti filled eggshells from a centuries old European tradition which were playfully cracked over unsuspecting people's heads by friends and admirers. Instead of confetti, I filled my eggs, like their plastic imposters, with tiny wrapped treats, toys or Easter messages and skipped the bopping on the head element.
Eggs (I used jumbo size)
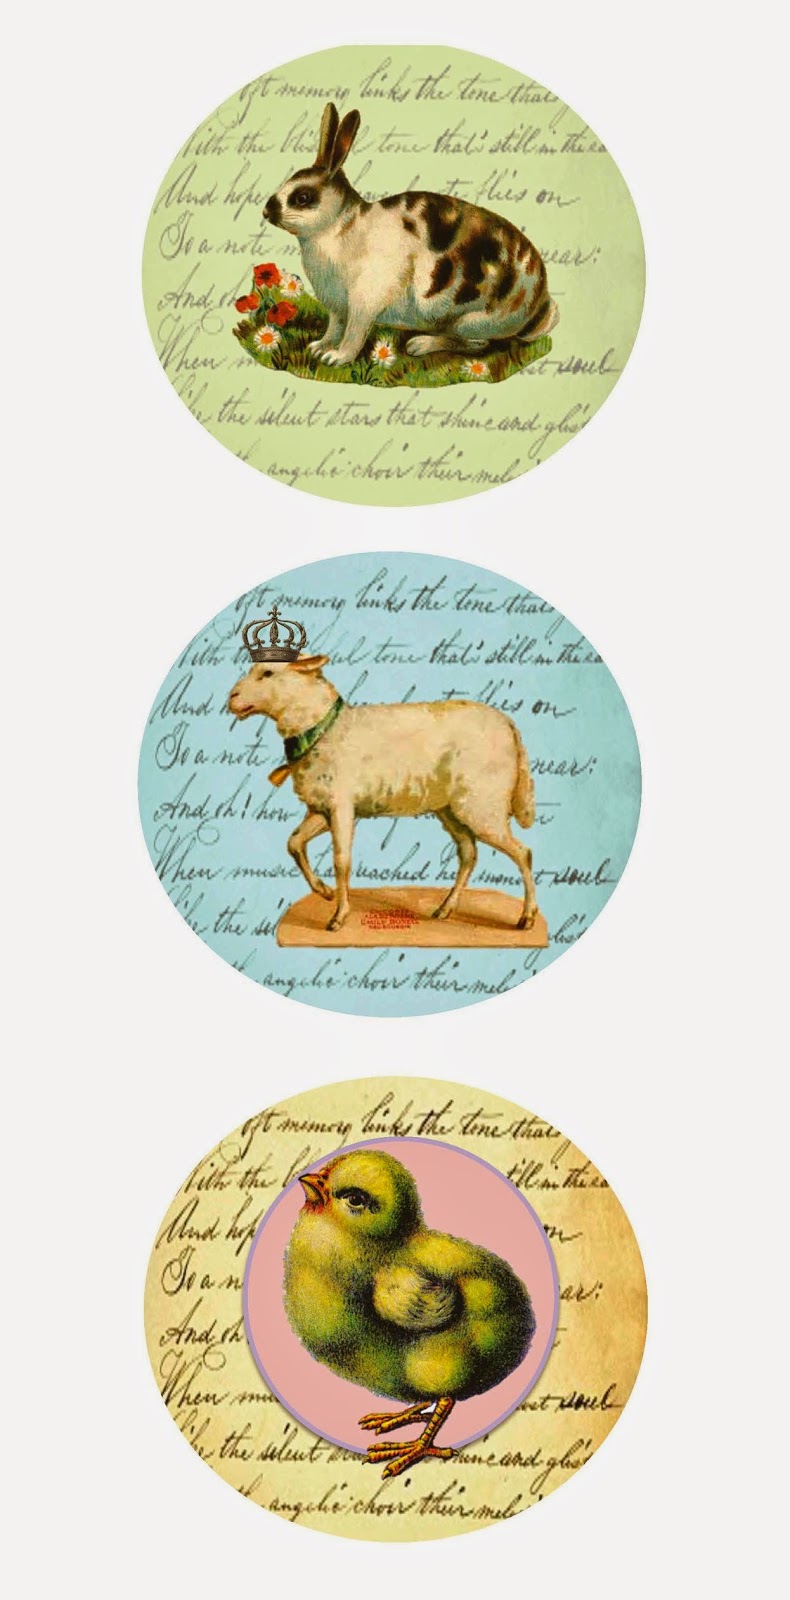
Easter Printables (I used images from the Graphic's Fairy)
Craft accessories: ribbon, glitter, etc
Paint which will adhere to egg surface
Hot glue
Small treats, toys or Easter messages
(appropriate to guests' age)
The How To's in a nut (or eggshell)
The How To's in a nut (or eggshell)
Carefully crack eggs in center trying to keep both halves as evenly sized as possible, draining contents into bowl for other use if desired. ( I made a Spring frittata) Alternately you can poke a hole in eggs, carefully widening opening until it is large enough to insert chosen treats easily. Of course, these shells are very fragile so you might want to make a few extras in case of "unfortunate accidents."
Rinse eggshells thoroughly and drain on paper towels until completely dry. You may want to gently wipe inside with paper towel or q- tip.
Once paint is dry, carefully fill eggs with mini treasures or greetings. I used wrapped candies for food safety in case any egg remained. If egg in is in two pieces, you can hot glue closed for extra sturdiness.
Gently decorate with ribbons or printed accents making sure to conceal any cracks or openings. No need to get too fussy, as these are meant to be broken. I used craft scraps stick-on jewels and cut an unbleached coffee filter for flair.
images created using free art from the graphics fairy
The fun part is making each one different
and having guests crack them open for a cute surprise
images created using free art from the graphics fairy
The fun part is making each one different
and having guests crack them open for a cute surprise
They can be displayed on egg cups
or as here on a glittered dollar store candlestick
You could also personalize with names for a whimsical place setting
You could also personalize with names for a whimsical place setting
I arranged mine in a grapevine wreath lined with moss and florals to form a nest.
Display with Springtime friends and decor.
For More PennyWise Springtime & Easter ideas
visit my "a good egg" post
where I make shadow box eggs...
For More PennyWise Springtime & Easter ideas
visit my "a good egg" post
where I make shadow box eggs...
or
my teatime on the bunny trail for tea time treats and decor
Wishing you all
the delights
of Spring


Such a sweet idea! And I love how you decorated some of the eggs. The burlap is genius!
ReplyDeleteJeanine
Thanks so much Jeanine!
DeleteSo glad you enjoyed the post :)
I love being able to use my craft scraps for something fun
Cheers!
Those sugar eggs are the BOMB! Going to the dollar store tonight. I have made the real sugar ones. A lot of work and special care to store them. I stored them in the cellar and it flooded! I learned the hard way. Paula Collins
ReplyDeleteThanks so much!
DeleteThat's so terrible about your basement! I know all my craft treasures are stored in mine!
I have yet to try sugar eggs (although I love them!) so I figured I'd stick to the much easier version for now-lop
Happy Spring and thanks for visiting
Love this idea. I made your Panoramic Egg last year. Thinking I'll give this a try too.
ReplyDeleteThanks so much Susan!
DeleteThese are just a quick "disposable" craft but lots of fun to make- Let me know if you give them a try :)
Dear Christina,
ReplyDeletewhat an absolutely lovely idea - so cute!
All the best from Austria
Elisabeth
Thanks so much Elisabeth!
DeleteWishing you a Happy Spring from the U.S.!
Hi Christina, love your ideas! Thanks for sharing!
ReplyDeleteHugs,
Vesna
Thanks so much :)
DeleteCute idea and lovely vignette.
ReplyDeleteSherry
Thanks so much Sherry - Happy Spring!
DeleteHello! Happy Easter! I have a link back to this post and your Panoramic Eggs from last Easter in my post Tea in the Library #29. Best wishes to you for a blessed Easter season.
ReplyDeleteThanks so much Susan! I love your tea in the library series- will pop over for a visit :)
DeleteI love your design ideas for the eggs! Although it's a shame that I've only found your post after Easter, there's always a next year, right? Your design pieces are so elegant. I'm sure to spread the word around for my friends who are looking for elegant handmade creations. Prosperity to you, Christina!
ReplyDeleteClint Shaff @ Franchise Match
Thanks so much- These are lots of fun and so simple to make :)
Delete