


Easter Bonnet from Ad 1945
sources: aoifekirwanmillinery, bing.com, gettyimages.com
In your Easter bonnet,
With all the frills upon it,
You'll be the grandest lady
in the Easter Parade
You'll be the grandest lady
in the Easter Parade
Irving Berlin

Vogue cover
sources: by Henri Cartier Bresson, Film still: Easter Parade, Vogue magazine
 Many years ago, our family, channeling their inner milliners, began the admittedly unusual tradition of making pint size decorative hats for Easter, starting with the very humble….styrofoam cup.
Add some paints, trim and extra crafty accents and voila: a petit but chic chapeau.

My Mother, the consummate hostess, holds the event appreciated as much for her teatime fare as for her well stocked "craft room" an enviable basement space dedicated to fostering creativity.
 Of course the event is BYOGG (Bring your own glue gun)
Spring Bonnets
There are many different tutorials for these online but we've always found this system works for us
You'll need
There are many different tutorials for these online but we've always found this system works for us
You'll need
styrofoam cups
we noticed different brands yielded different
results and shapes.
we noticed different brands yielded different
results and shapes.
paint which adheres to cup
(avoid spray paint as it will dissolve cups)
(avoid spray paint as it will dissolve cups)
trim, ribbons, florals and trinkets
head bands, hair clips if desired
hot glue guns
photos and ideas for inspiration
Place cups, bottoms up, on a cookie sheet.
"Bake" in preheated 300 degree oven anywhere
from 2-10 minutes, checking every minute.
(size of cups and variations in ovens will affect time)
Place cups, bottoms up, on a cookie sheet.
"Bake" in preheated 300 degree oven anywhere
from 2-10 minutes, checking every minute.
(size of cups and variations in ovens will affect time)

As if by magic, the cups will shrink into a variety of hat like shapes. I always make extras to allow for "oopses" or the occasional dud.


If hosting a party, cups can be heated and painted with assorted colors the day before to save time and allow guests to dive right into the decorating part.
 |
| busy hands: gluing, snipping and trimming |
 |
| hats inspired by favorite colors, travels, or interests. toothpicks become impromptu chopsticks for an asian inspired topper, stars add sparkle to chic black chapeau |

Anne Miller in the ultimate Easter bonnet c1946
With the popularity of fascinators (Thanks Princess Kate!) we decided to attach some of our creations to plastic headbands or hair clips for some whimsical but wearable flair.
channelling my inner bunny
(don't think I'll make the fashion pages)
channelling my inner bunny
(don't think I'll make the fashion pages)

with a bunny tail in back of course

or why not spruce up household members in their Easter finest?
 |
| Angel reluctantly models a petal pink chapeau |

 |
| mini candy and decorative hats adorned the table |
Easy 5 minute Hat Cookies & Strawberry "Carrots"

For Strawberry "carrots" simply dip fresh berries in orange chocolate melts with a few carrot ridges added
(Lots of versions on Pinterest)

Hat Cookies
round flat cookies (store bought or homemade)Marshmallows (cut in half)
Candy melts or baking chips -any color or flavor
(melted according to package instructions)
icing and sprinkles

cover cookies with melted chocolate
top with marshmallows (cut in half) and allow to cool.
Decorate as desired

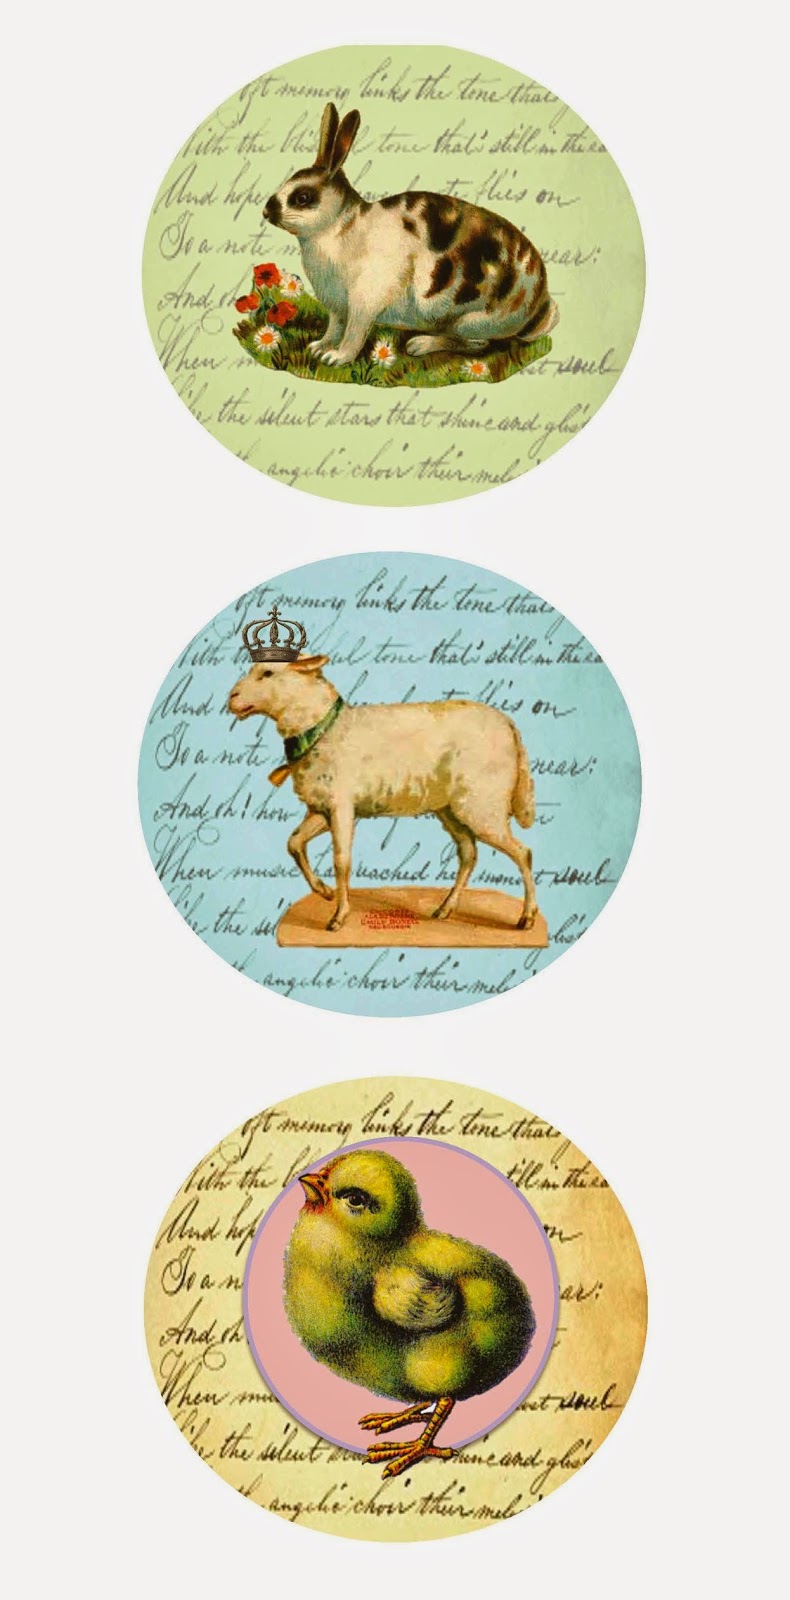
Spring is in the Air….
 |
| furry friends on the mantel, tea cups and hats on the "Tea" Tree, assorted cups |
The House was brimming with bunnies, Spring flowers and teatime inspired decor
 |
a cheerful foyer sets the mood
Wishing all our readers
a Delightful Spring!
|


